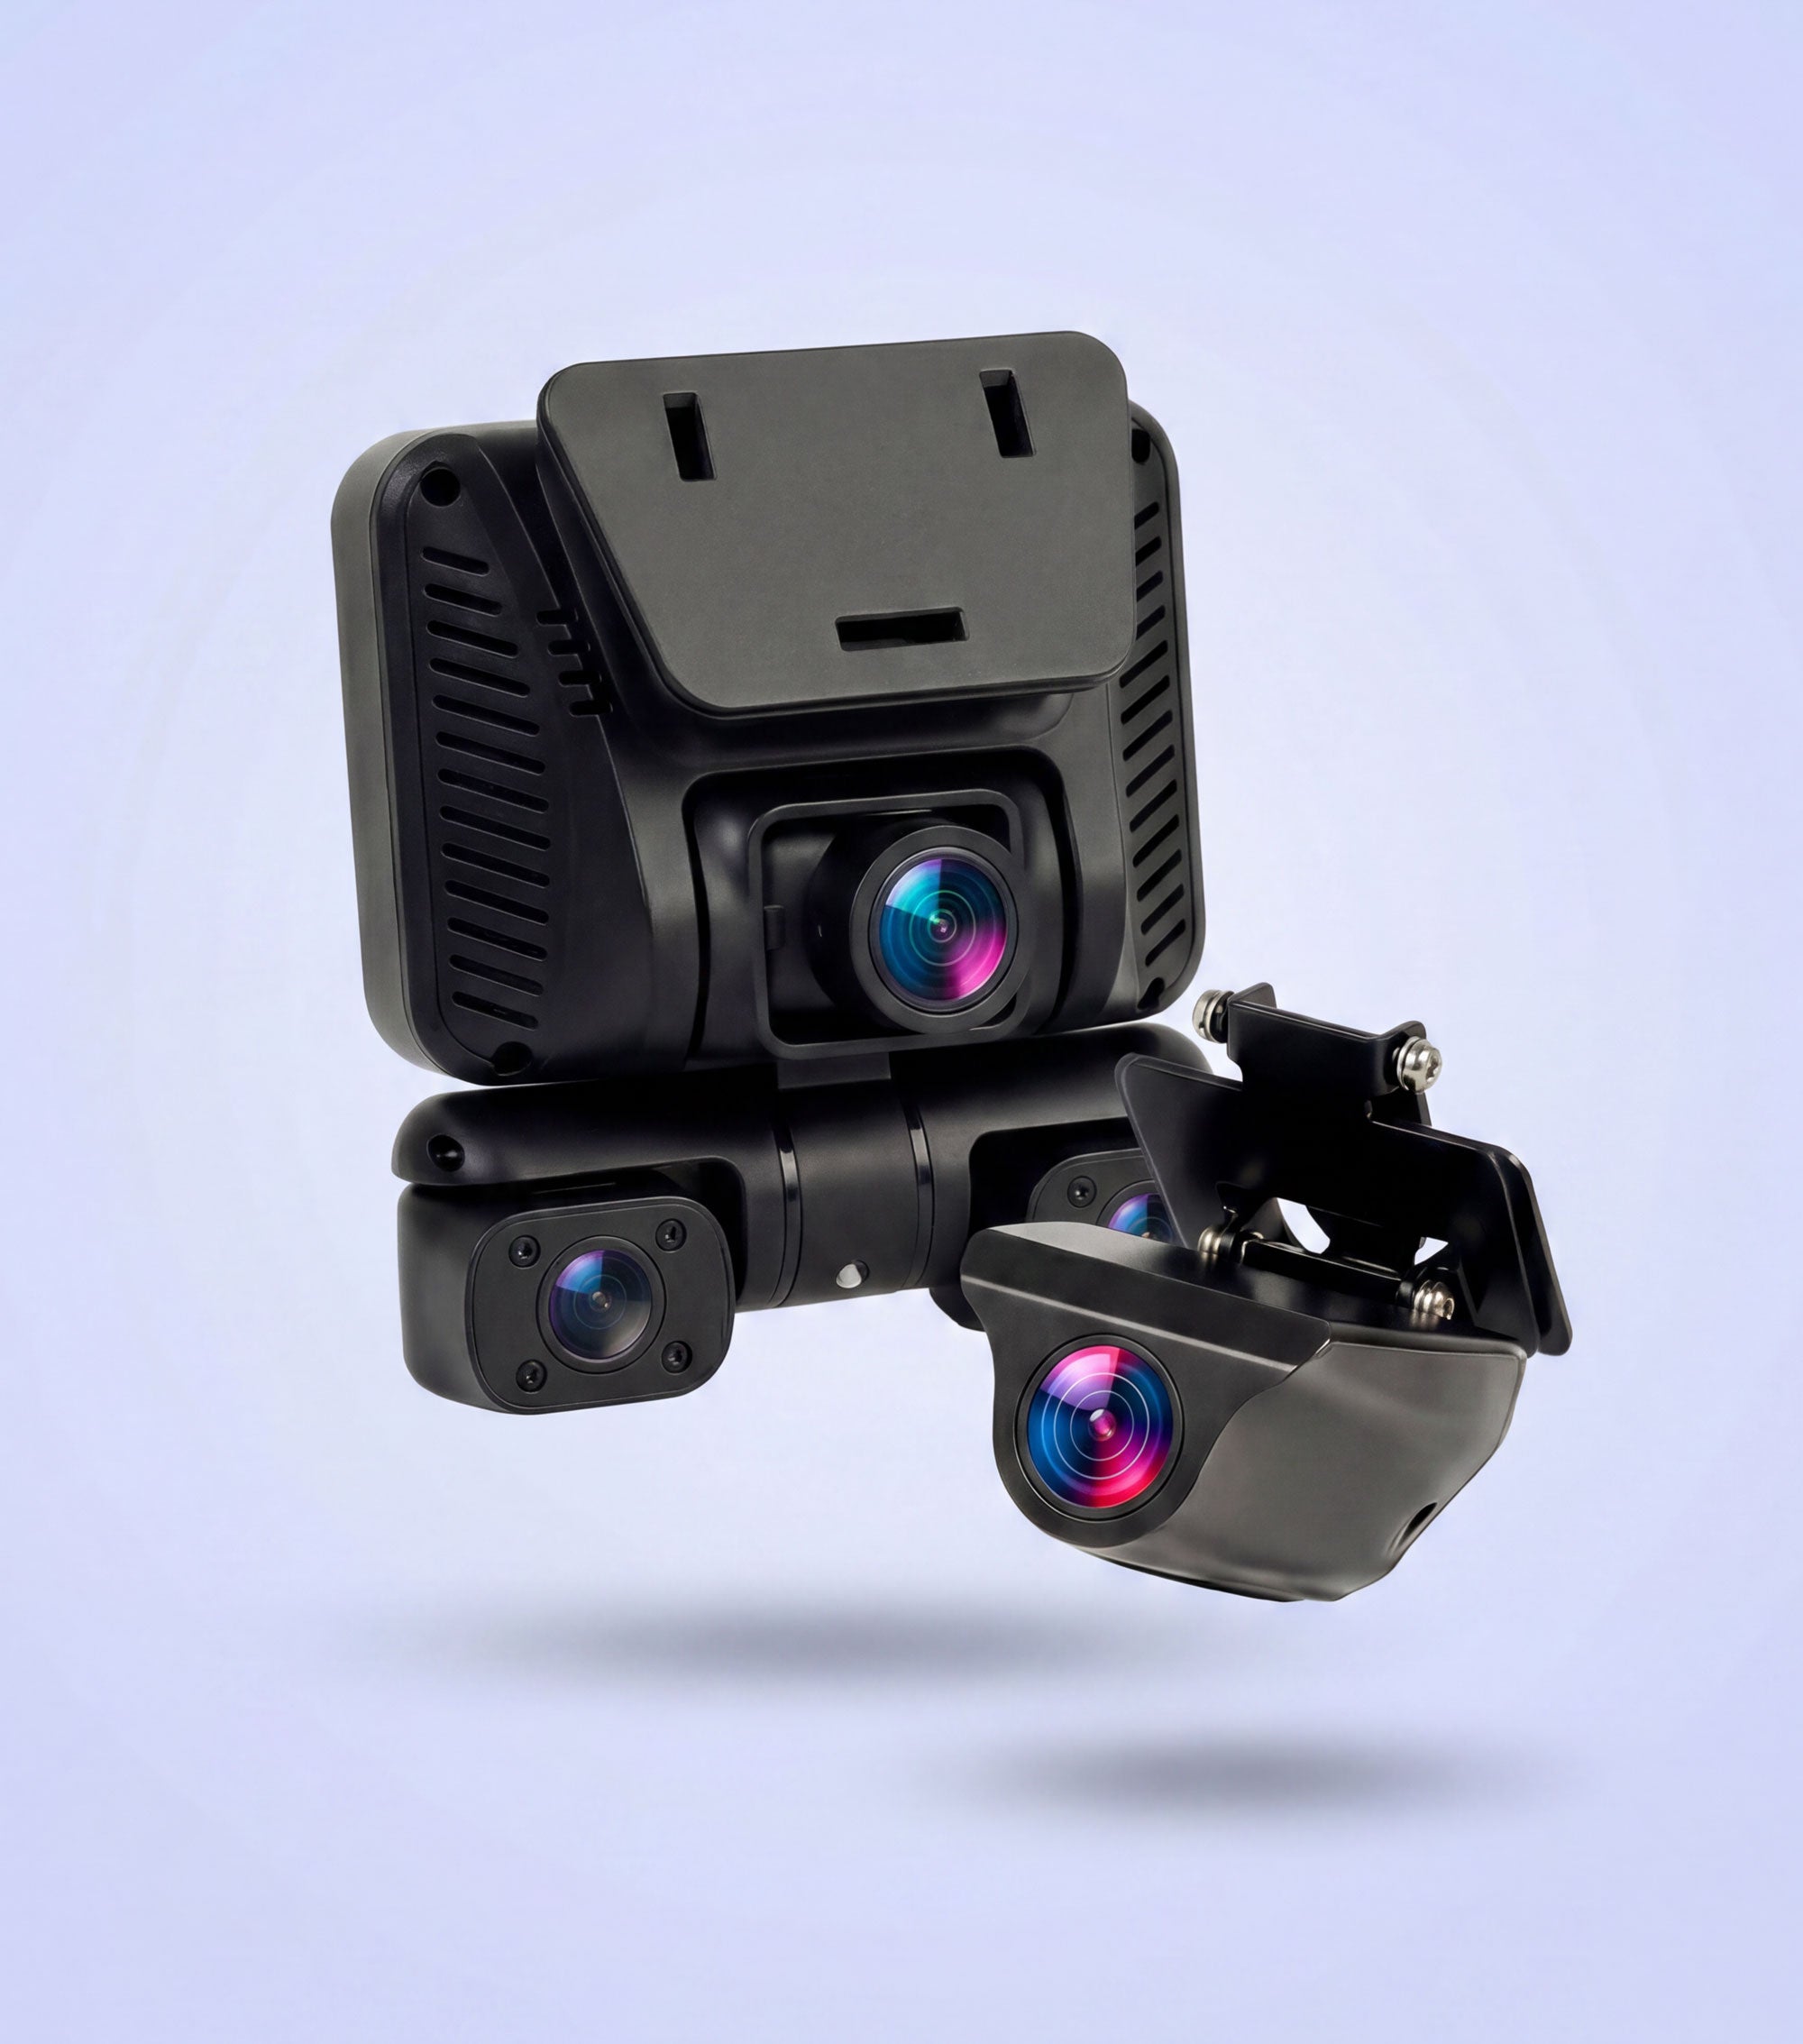
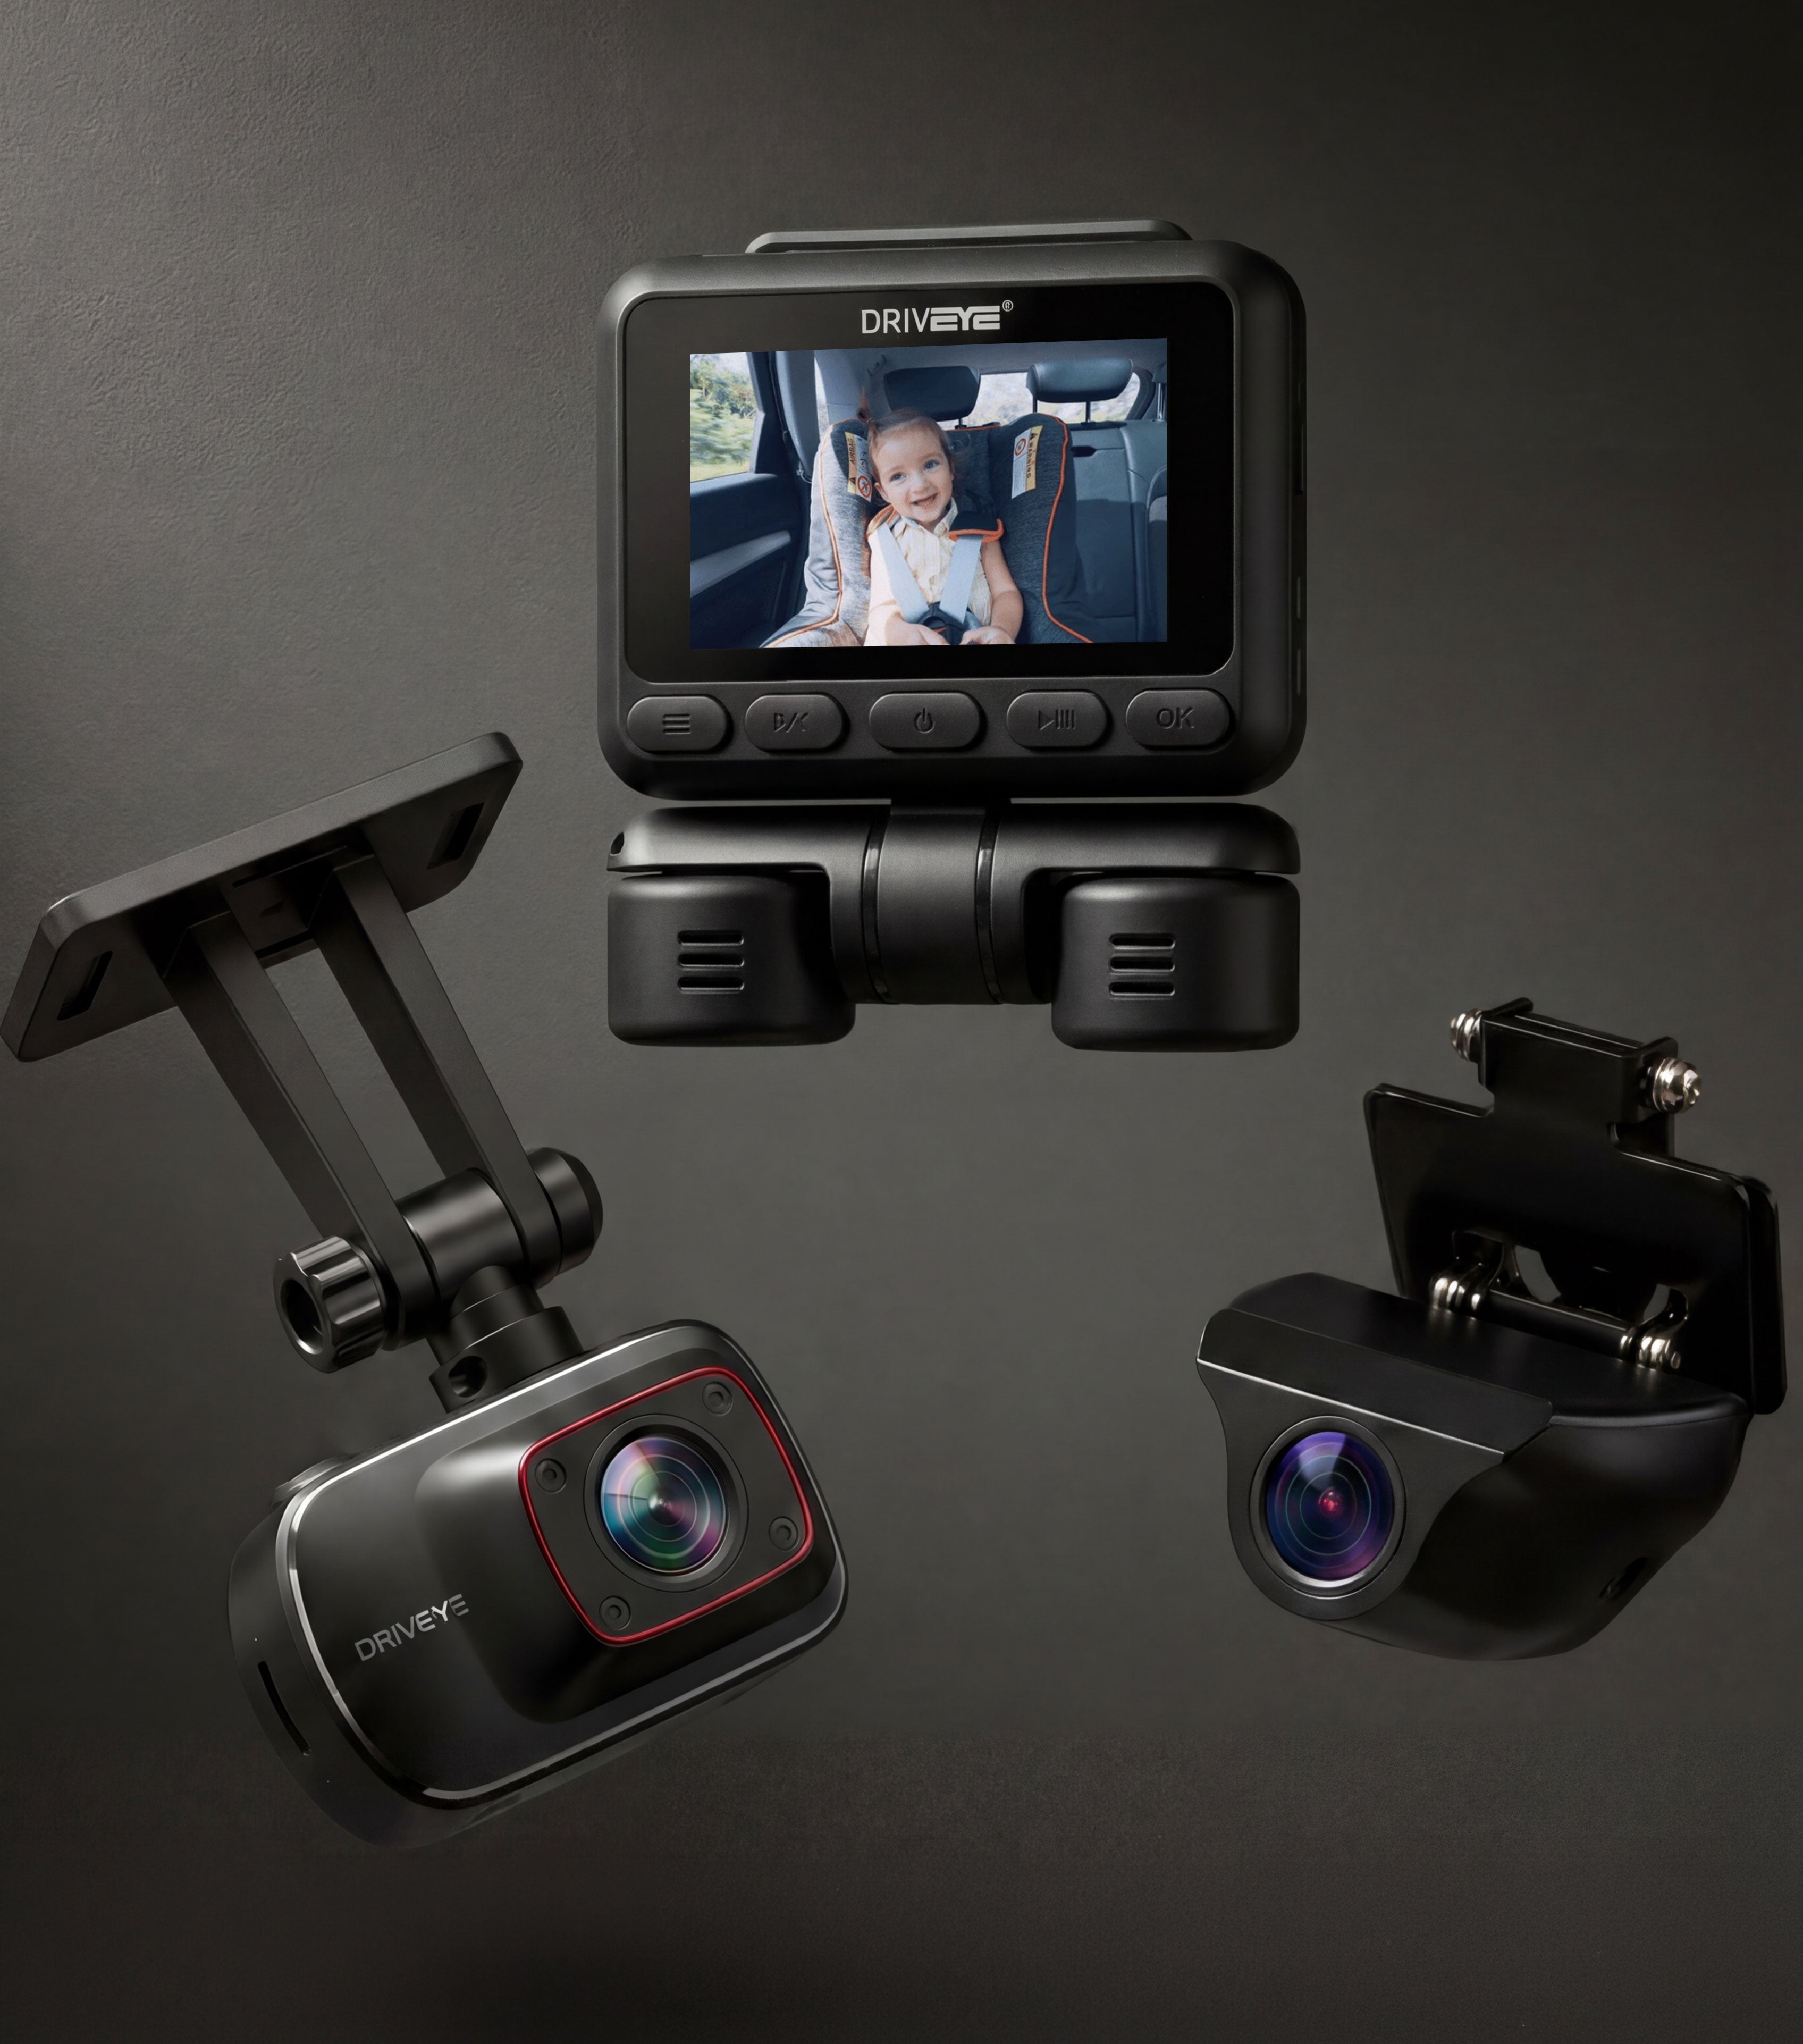
Parking accidents, hit-and-runs, or vandalism often happen when your car is left unattended. That’s why Parking Mode is one of the most important features in any DRIVEYE dash cam. With it, your camera continues to monitor and record even when your engine is off—offering 24/7 protection and peace of mind.
Whether you’re using the DRIVEYE D9 or any other model in the series, activating parking mode follows the same core steps. Here’s how to do it right.
What Is Parking Mode?
- Parking Mode enables your dash cam to detect motion or impacts while your car is parked and the ignition is off. Depending on your DRIVEYE model and setup, it can record:
- Motion near the vehicle (if radar or motion sensor is enabled)
- Shocks or impacts (triggered via G-sensor)
- Continuous time-lapse footage (compressed video format)
These recordings are stored separately—usually in the “Parking” folder—so you can easily review parking incidents later.
What You Need Before You Start
Since most car cigarette lighter sockets cut power when the ignition is off, a constant power source is required for Parking Mode to function properly.
You can use:
- Hardwire Kit (ACC connection) – Connects to your fuse box for stable, ignition-aware power
- OBD Power Cable – Easy plug-and-play setup with built-in low-voltage protection
- Portable Power Bank – For temporary or mobile setups
⚠️ Note: Parking mode won’t work if the dash cam loses power. For best performance, use DRIVEYE-recommended power accessories.
How to Activate Parking Mode (Step-by-Step)
Step 1: Install a Constant Power Supply
Use either a hardwire kit or OBD cable to connect your dash cam to the car’s electrical system. Once installed, the dash cam will automatically detect when the engine is off and switch to parking mode.
Step 2: Set Your Preferred Parking Mode
You can choose between three types of parking recording:
① Collision Detection Mode
- Uses the built-in G-sensor
- When an impact or vibration is detected, the camera records a 1-minute clip
- Best for short-term parking or high-risk areas
② Time-Lapse Recording Mode
- Records at 1 frame per second continuously
- Compresses long hours into short video files
- Saves storage space and captures everything, not just events
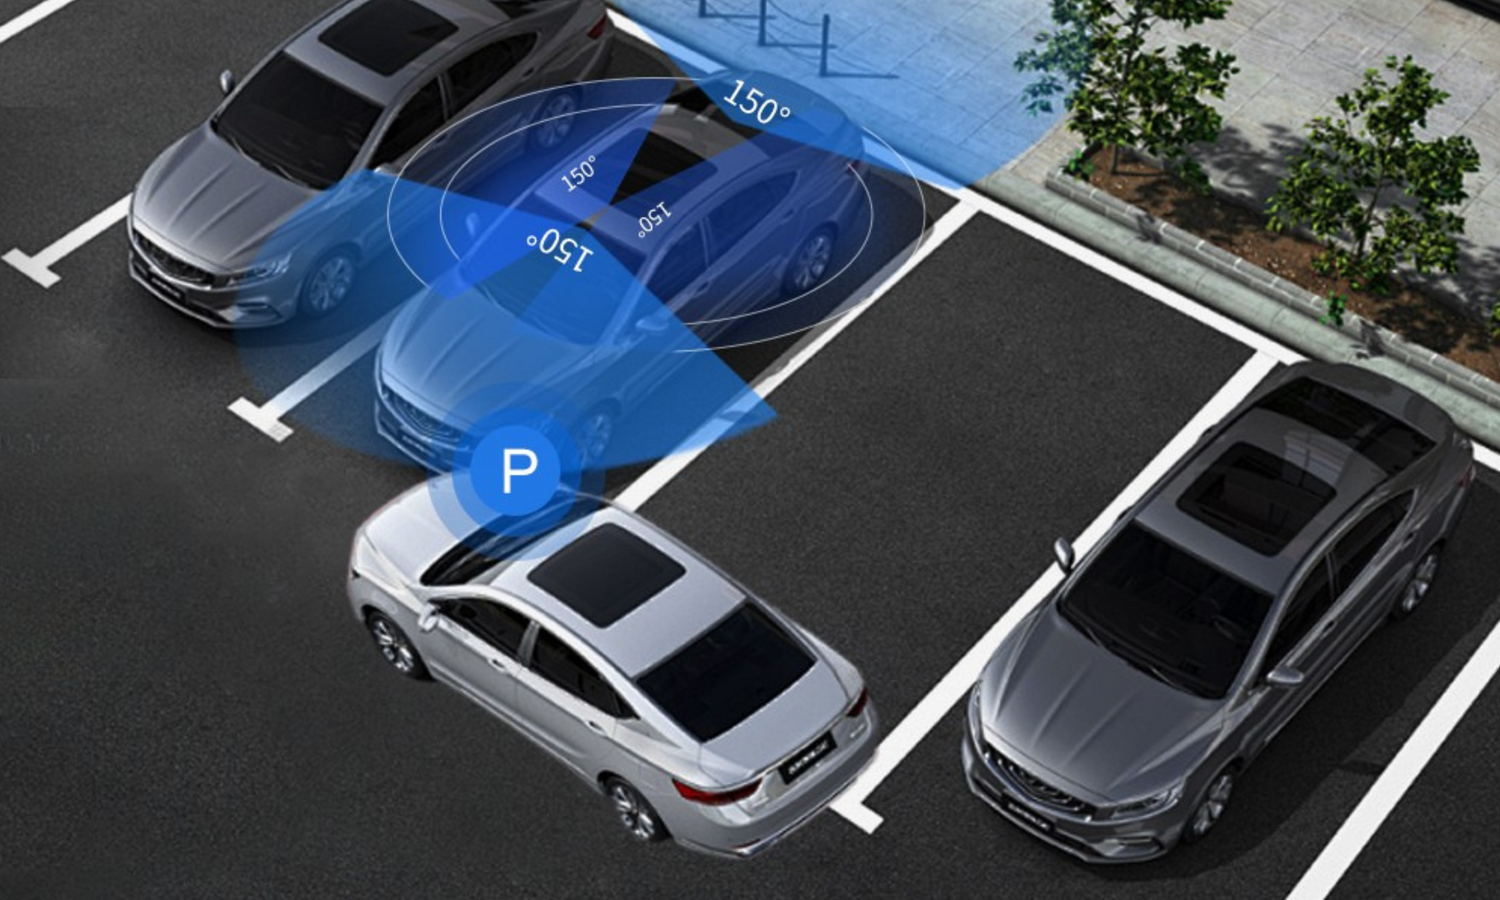
③ Radar-Based Recording (for supported models)
- Uses 360° microwave radar to detect movement around the vehicle
- Automatically records without consuming much power
- Great for overnight monitoring in quiet areas
🔧 You can configure these modes via the dash cam menu or mobile app (Viidure / DashcamViewer).
Step 3: Adjust Sensitivity (Optional)
In the settings menu or app, adjust G-sensor sensitivity based on your parking environment:
- High – Triggers easily; ideal for quiet, indoor areas
- Medium – Balanced default setting
- Low – Reduces false triggers in busy or high-vibration zones
Where to Find Your Footage
Parking mode footage is saved in the following folders:
- Parking folder – triggered by G-sensor or time-lapse mode
- Normal folder – triggered by radar monitoring
You can review and download footage via the Viidure App or directly from the SD card.
Activating Parking Mode on the DRIVEYE D9 is simple and provides continuous protection even when you're away from your vehicle. Just follow these steps:
- Install the hardwire kit or power bank
- Adjust your collision sensitivity
- Optionally enable time-lapse or radar mode
- Relax knowing your car is being watched—day and night
Need help installing your hardwire kit or using parking mode features?
Email us at support@driveyedashcam.com or visit www.driveyetech.com.
Drive Worry Free with DRIVEYE.

Leave a comment
This site is protected by hCaptcha and the hCaptcha Privacy Policy and Terms of Service apply.