Installing your DRIVEYE dash cam is a quick and straightforward process. With just a few simple steps, you’ll be ready to drive with enhanced safety and peace of mind. To make it even easier, we’ve provided a detailed video tutorial for you to follow along.
Before diving into the written instructions, check out our quick video guide that will walk you through the entire installation process.
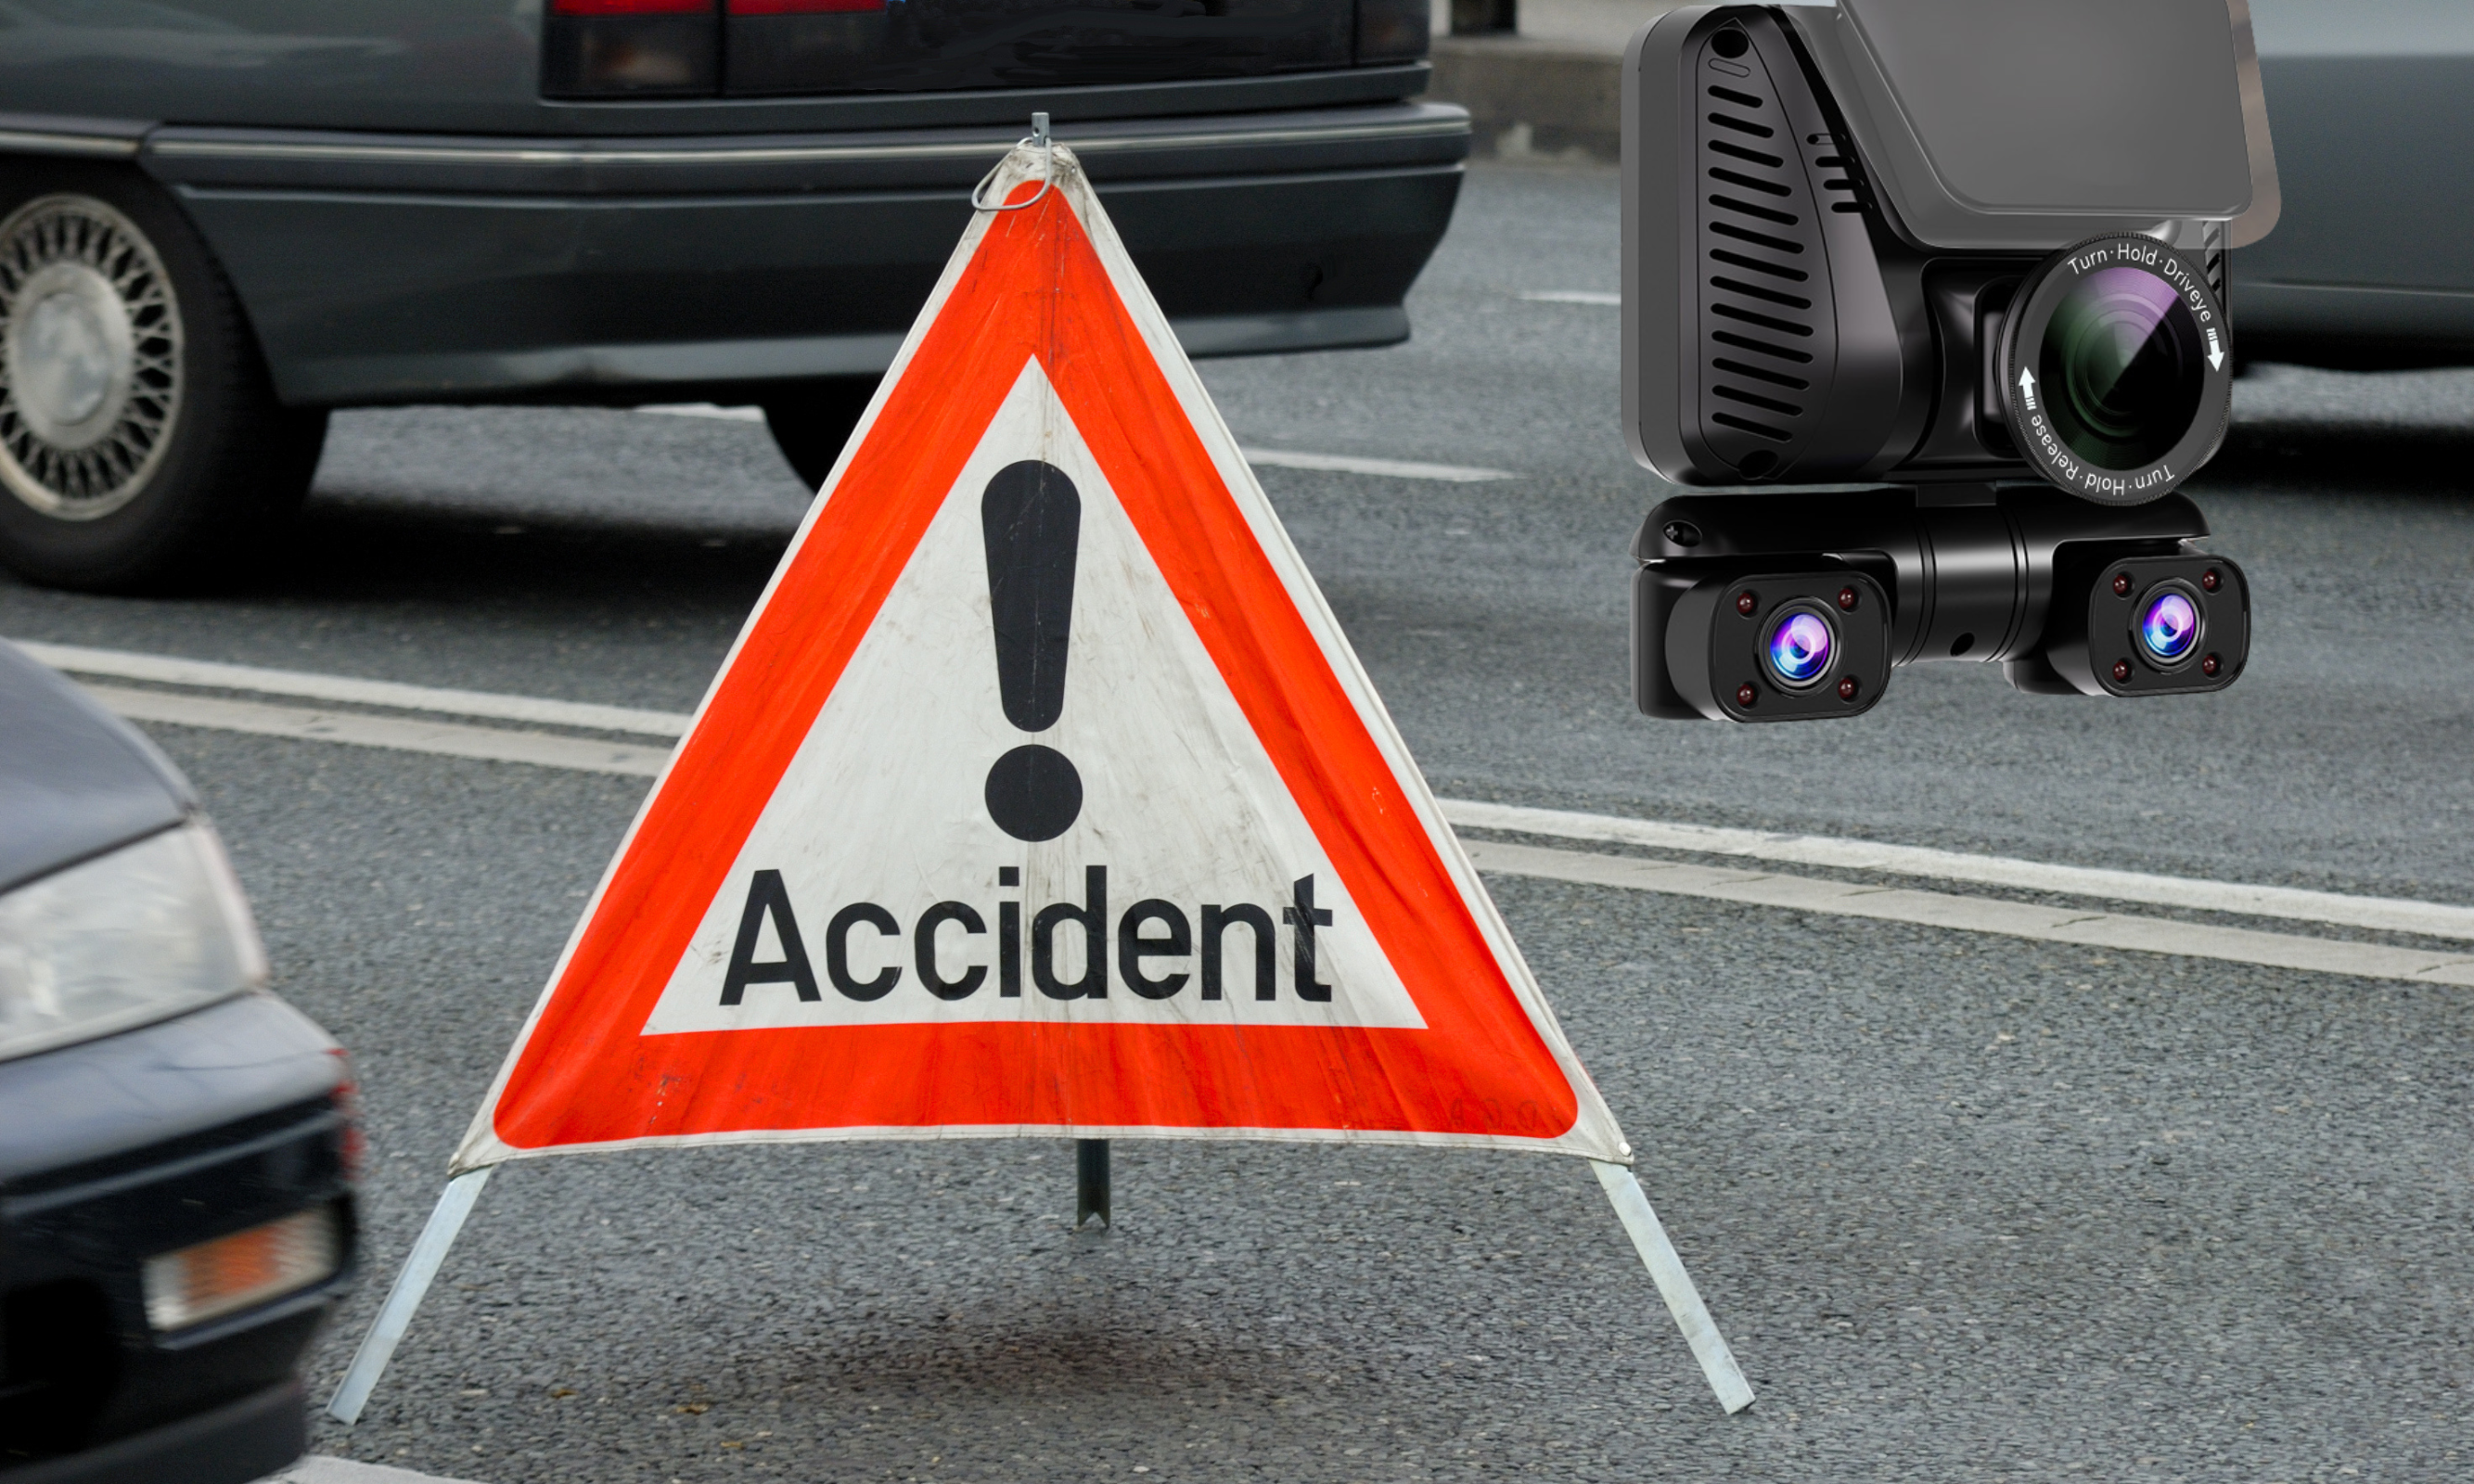
How to install D7 Dashcam?
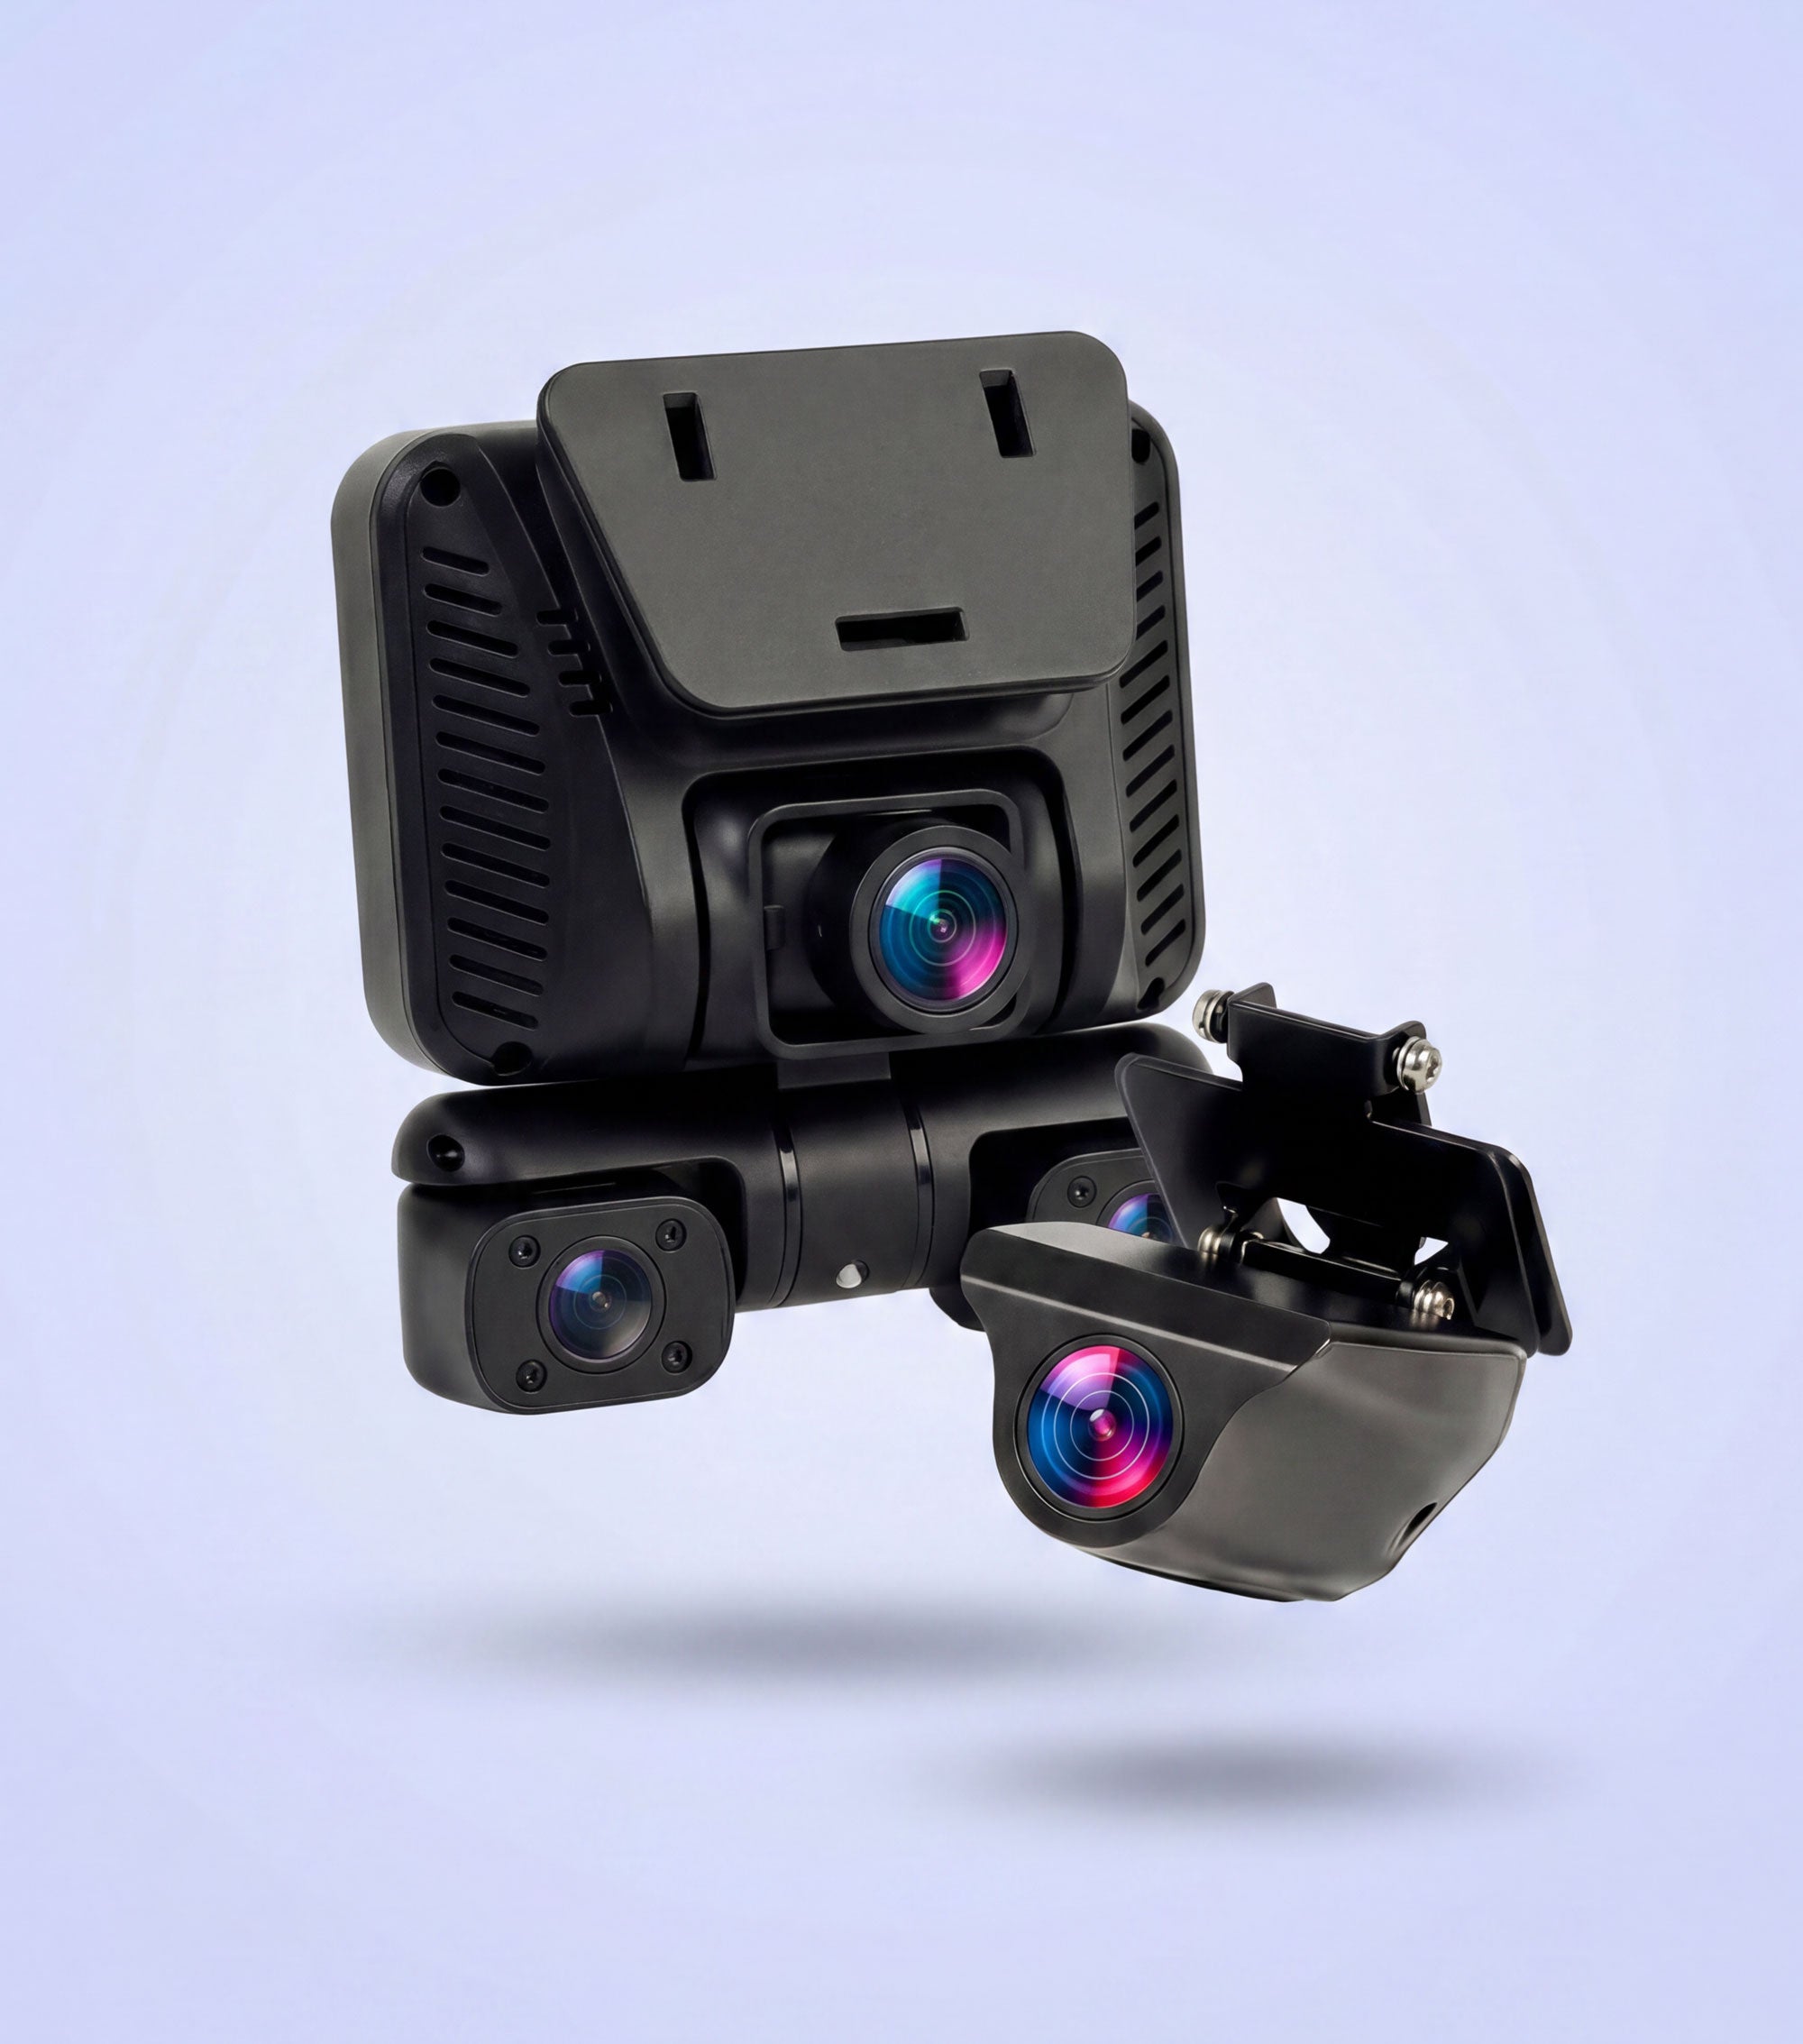
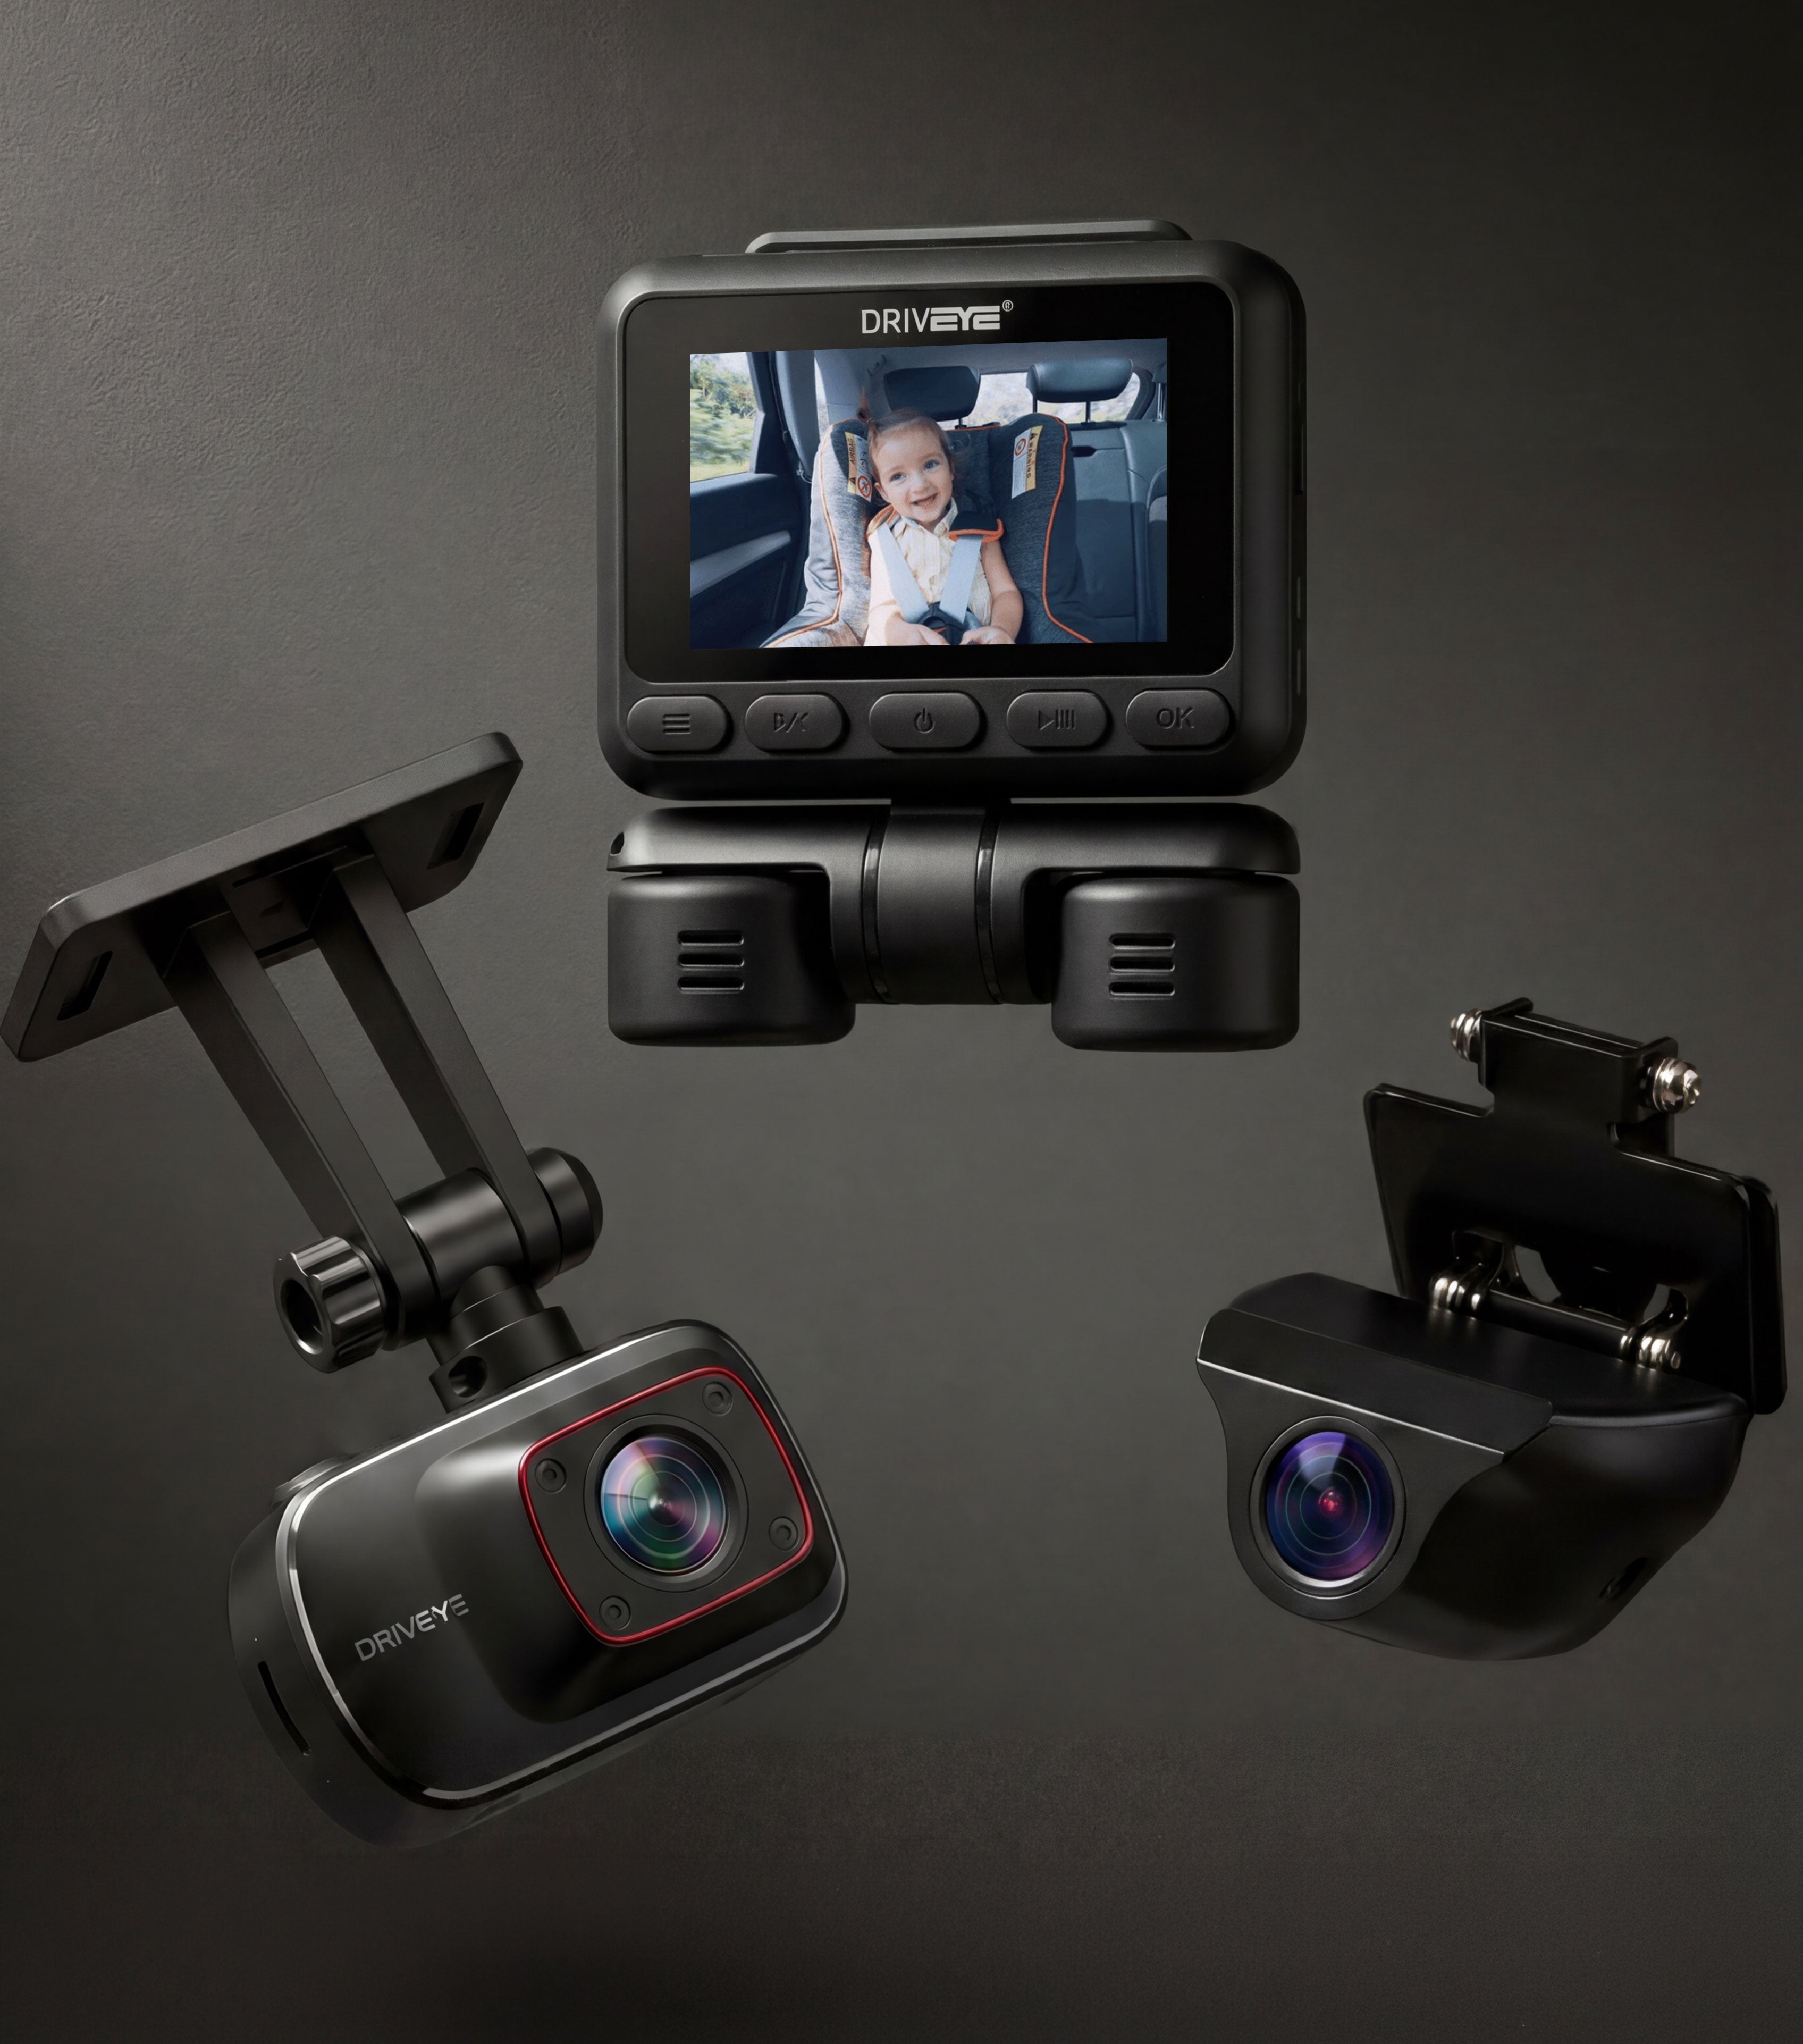
How to install D9 Dashcam?
Installing the DRIVEYE dash cam is quick and simple. Here are some key tips to help you get your device up and running:
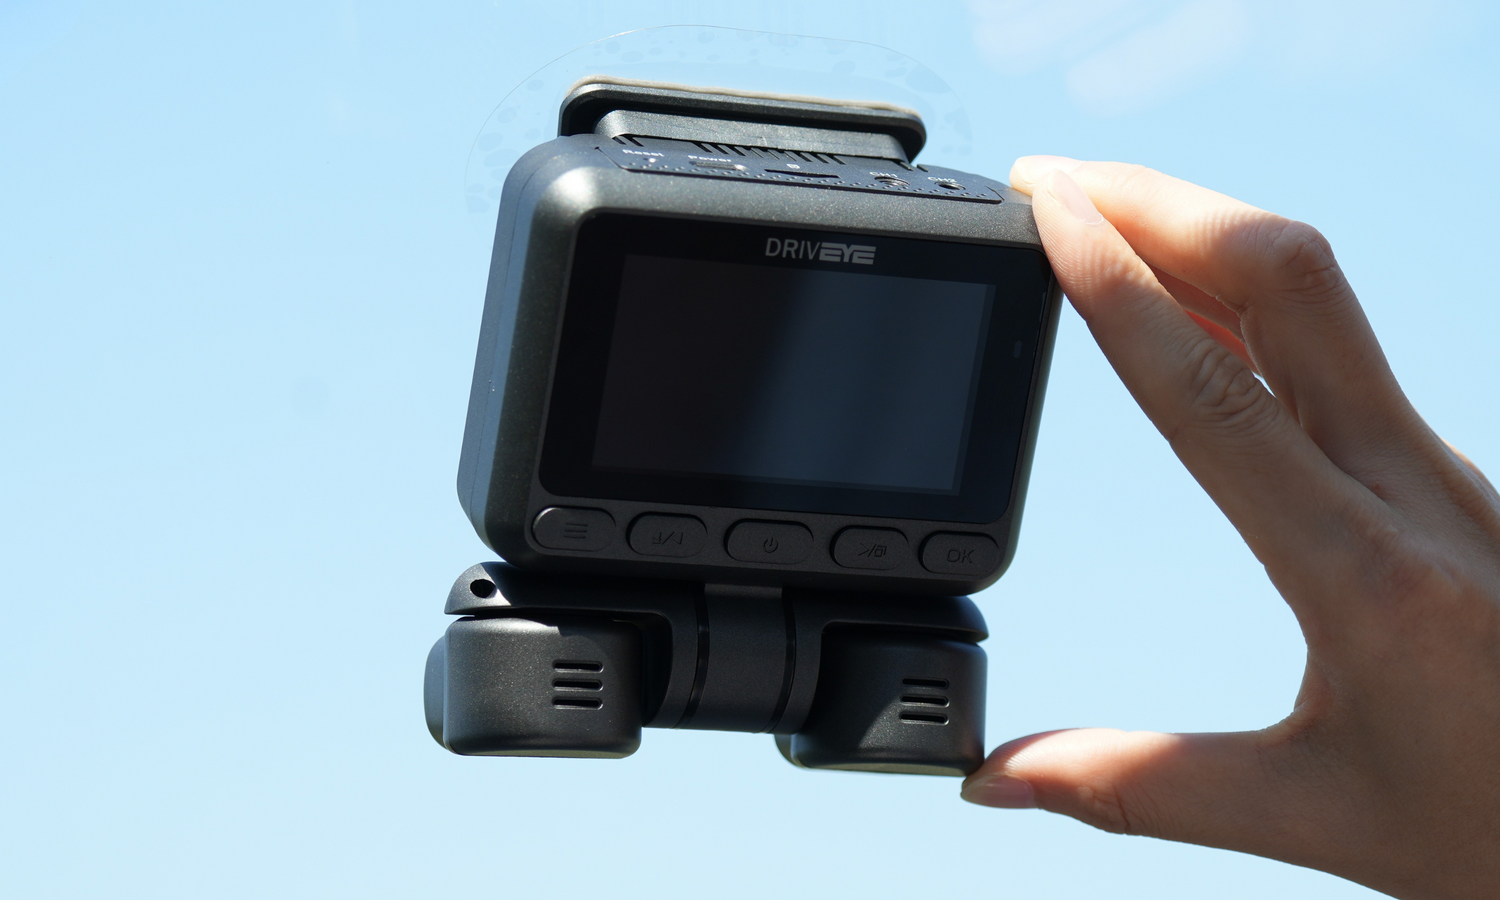
• Choose the Best Location: Mount your dash cam in the upper center of your windshield for optimal recording angles and visibility. Ensure the location doesn’t obstruct your view while driving.
• Clean the Surface: Before attaching the 3M adhesive mount, clean the windshield area thoroughly using a microfiber cloth. This ensures better adhesion and prevents dirt or moisture from affecting the bond.
• Attach the Dash Cam: Peel off the protective film from the 3M adhesive pad and firmly press the mount onto the chosen location. Hold it in place for a few seconds to ensure it sticks securely.
• Connect the Power: Plug one end of the car power cable into the dash cam and the other end into your car’s cigarette lighter or power outlet. Ensure both connections are tight to avoid any power interruptions.
• Adjust the Camera Angle: Power on the dash cam and adjust the angle to capture the best view. You can also tweak settings like date and time to match your preferences.

Leave a comment
This site is protected by hCaptcha and the hCaptcha Privacy Policy and Terms of Service apply.